
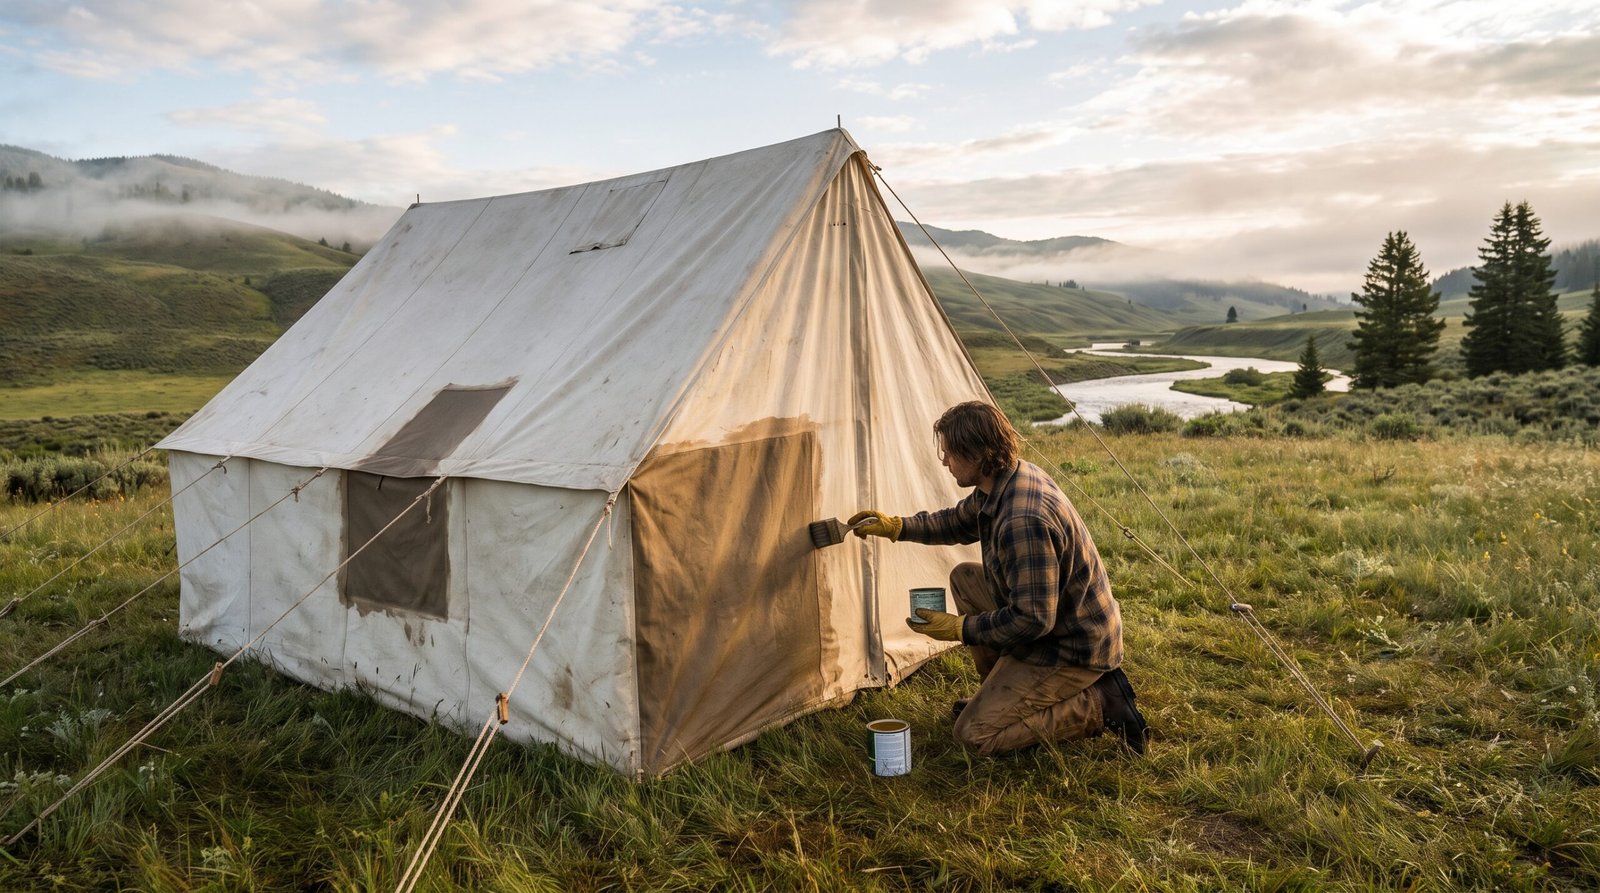
Canvas tents don’t fail because the fabric wears out. They fail because someone grabbed the wrong bottle from the garage shelf and turned a $900 bell tent into a stiff, cracked, mildew-scented lesson in humility. I’ve seen it happen to good tents owned by careful people. Waterproofing a canvas tent isn’t hard, but it’s unforgiving of shortcuts, and this guide is going to walk you through it the right way, in the right order, so you don’t have to learn any of this the expensive way.
Why Canvas Tents Need a Different Approach Than Nylon
If you’ve ever waterproofed a backpacking tent, forget almost everything you know. Nylon and polyester tents are coated fabrics — you’re basically refreshing a plastic film. Canvas is cotton, sometimes a poly-cotton blend, and it works completely differently.
Canvas is designed to swell when wet. The cotton fibers absorb moisture, expand, and press together, closing the tiny gaps between the weave. That’s what makes canvas naturally water-resistant in the first place — not a coating, but a physical reaction of the fibers themselves.
This matters because it means canvas needs to breathe. It also means aggressive cleaners, silicone sprays, and anything petroleum-based can mess with that natural fiber behavior permanently. Canvas tent maintenance is a slower, gentler game than synthetic tent care, and treating it like a synthetic tent is mistake number one.
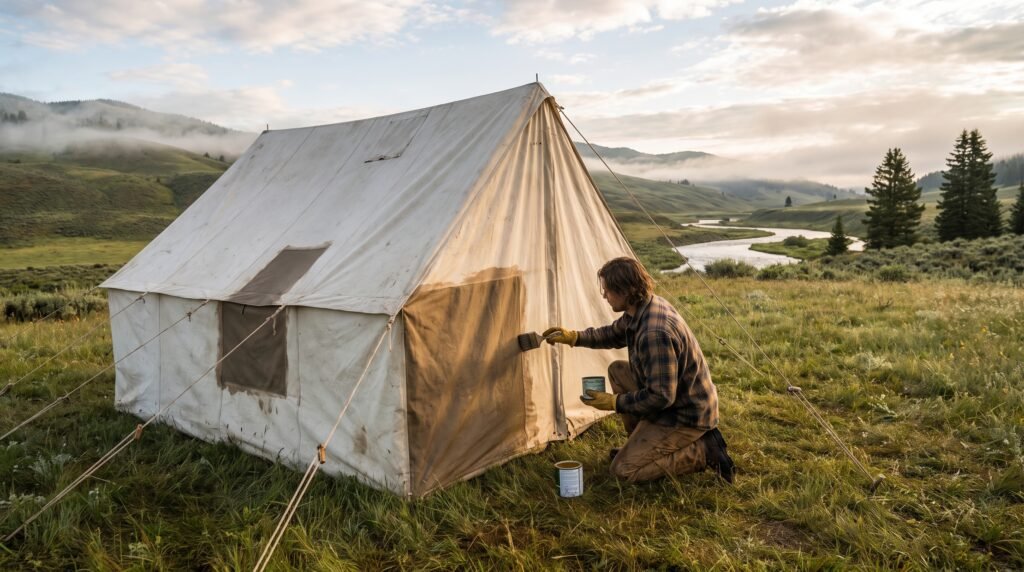
Step 1: Prep — Inspect Before You Touch a Drop of Water
Before any cleaning product touches your tent, do a full inspection in good daylight. Pitch it if you can, or at least lay it out flat on a tarp in the yard.
You’re looking for three things:
- Mold and mildew spots — usually black, gray, or dark green speckling, often in the seams, the bottom edge, and folds where moisture sat trapped.
- Rot or weak fibers — press gently on suspicious spots. If the canvas feels papery or crumbles, that’s rot, not surface dirt, and no cleaner will fix it.
- Seam and stitching condition — check thread integrity along every seam. Waterproofing won’t help if water is getting in through a failed stitch line.
Photograph anything concerning. You’ll want a “before” reference to compare against once you’re done, and it helps you track whether spots are actually mold or just old staining that’s cosmetic and harmless.
Also check the manufacturer’s care tag or documentation. Some canvas is treated at the mill with a fire-retardant or mildew-resistant finish, and certain cleaning agents can strip those factory treatments right off. When in doubt, contact the manufacturer before you improvise.
Step 2: Cleaning Bell Tent Mold — The Part Everyone Gets Wrong
This is where most tents get ruined. People reach for bleach because it’s what they’d use on a bathroom shower. Bleach on canvas is a disaster — it breaks down cotton fibers, destroys any factory waterproofing treatment, and can leave the fabric brittle within a single season.
Here’s the safer sequence for cleaning bell tent mold:
- Dry brush first. Use a soft-bristle brush to knock off loose mold, dirt, and debris before introducing any moisture. Wet-brushing mold just smears spores deeper into the weave.
- Make a mild solution. Lukewarm water with a small amount of pure soap flakes or a canvas-safe cleaner. Avoid dish soap, laundry detergent, and anything with fragrance, brighteners, or degreasers — those chemicals strip the cotton’s natural water resistance.
- Spot test. Always test on an inconspicuous inside seam first. Wait a few hours and check for discoloration before treating the whole tent.
- Scrub gently, rinse thoroughly. Use circular motions with a soft brush, then rinse with a hose until no suds remain. Soap residue left in the fibers attracts dirt and can interfere with waterproofing later.
- For stubborn mold stains, a diluted white vinegar solution (never full-strength, never combined with bleach) can help lift staining without the fiber damage bleach causes.
The EPA’s guidance on mold cleanup is a solid reference if you’re dealing with heavy contamination, particularly on the health precautions around inhaling spores while brushing dry mold indoors or in an enclosed garage.
Never machine wash a bell tent, and never use a pressure washer. Both can distort the weave, blow out seams, or force water into layers of fabric that won’t dry evenly.
Step 3: Drying — The Step People Skip and Regret
Canvas must be bone dry before you waterproof it and before you store it. Not “damp to the touch” dry — fully, completely dry, inside and out, including every seam and fold.
Pitch the tent fully in a shaded, well-ventilated area rather than direct sun, which can cause uneven fading and fiber stress. Leave all doors, windows, and vents open so air moves through the interior, not just around the exterior.
Depending on humidity, this can take anywhere from 24 to 72 hours. Run your hand along the base seams and corners — these hold moisture longest and are also the most common spot for mold to return if packed away damp.
Packing a canvas tent away even slightly damp is the single fastest way to grow mold in storage. If you take nothing else from this guide, take that.
Step 4: Waterproofing a Canvas Tent — Choosing and Applying the Right Product
Once the tent is spotless and completely dry, you’re ready for the actual waterproofing treatment. This is where product choice makes or breaks the outcome.
The best canvas waterproofer is going to be a product formulated specifically for cotton or poly-cotton canvas — not a generic outdoor fabric spray, and definitely not a silicone-based sealant meant for synthetic materials. Silicone sprays sit on top of the fiber rather than penetrating it, which can suffocate the canvas’s ability to breathe and trap moisture inside instead of keeping it out.
Look for wax-based or specially formulated canvas proofers designed to soak into the fiber and restore the natural water-shedding behavior of the cotton, without clogging the weave entirely.

- Cotton Canvas
- Imported
When applying:
- Work in a shaded, ventilated area — direct sun can cause the proofer to dry unevenly before it penetrates the fibers.
- Apply in thin, even coats rather than one heavy soak. Two thin coats always outperform one thick one.
- Pay extra attention to the roof and any horizontal surfaces that take direct rainfall, since these areas wear down fastest.
- Let each coat cure according to the manufacturer’s instructions before applying a second, and before you fold or pack the tent.
Reproofing frequency depends on sun exposure and how often you use the tent, but as a rule of thumb, most bell tents need re-treatment every 12 to 24 months of regular use. A simple test: if water no longer beads on the roof and instead soaks in, it’s time to reproof.
Ongoing Canvas Tent Maintenance Between Trips
Waterproofing isn’t a one-and-done job — it’s part of a maintenance rhythm that keeps the canvas performing for a decade instead of two seasons.
- Never pack away wet or even damp. If you break camp in the rain, air it out at home the same day.
- Store loosely rolled, not folded tight in the same creases every time — repeated folding along the same lines weakens the weave and eventually cracks any waterproofing coating.
- Keep it in a breathable bag, never a sealed plastic bin, which traps residual moisture and invites mold even in fabric that seemed dry.
- Check zippers, guy lines, and seams seasonally, since these often fail before the canvas itself does.

- cotton,polyester
- Imported

A soft-bristle interior brush and a dedicated canvas-safe cleaning kit kept in your camp storage bin makes it far more likely you’ll actually do maintenance regularly instead of putting it off until mold shows up.
Mistakes to Avoid
- Using bleach or ammonia-based cleaners. Both break down cotton fibers and strip factory treatments, leading to brittleness and permanent staining.
- Machine washing or pressure washing. Either can warp the weave, blow seams, or force water into layers that won’t dry evenly.
- Waterproofing over dirt or mold. Sealing in contamination just traps the problem under a coating, and mold will keep spreading underneath.
- Applying silicone-based sprays meant for synthetic tents. These block breathability and can trap moisture instead of repelling it.
- Skipping the spot test. Some canvas reacts badly to certain cleaners or proofers depending on prior treatments — always test first.
- Packing away even slightly damp. This is the number one cause of mold returning within weeks of storage.
- Reproofing in direct hot sun. Uneven drying leaves patches under-treated and prone to leaking exactly where you need protection most.
For a deeper technical breakdown of how cotton duck canvas is woven and why it behaves so differently from synthetic fabrics, the Wikipedia entry on duck cloth is a genuinely useful reference for understanding what you’re actually working with before you touch it with any chemical.
Ultimo aggiornamento 2026-10-28 / Link di affiliazione / Immagini da Amazon Product Advertising API