
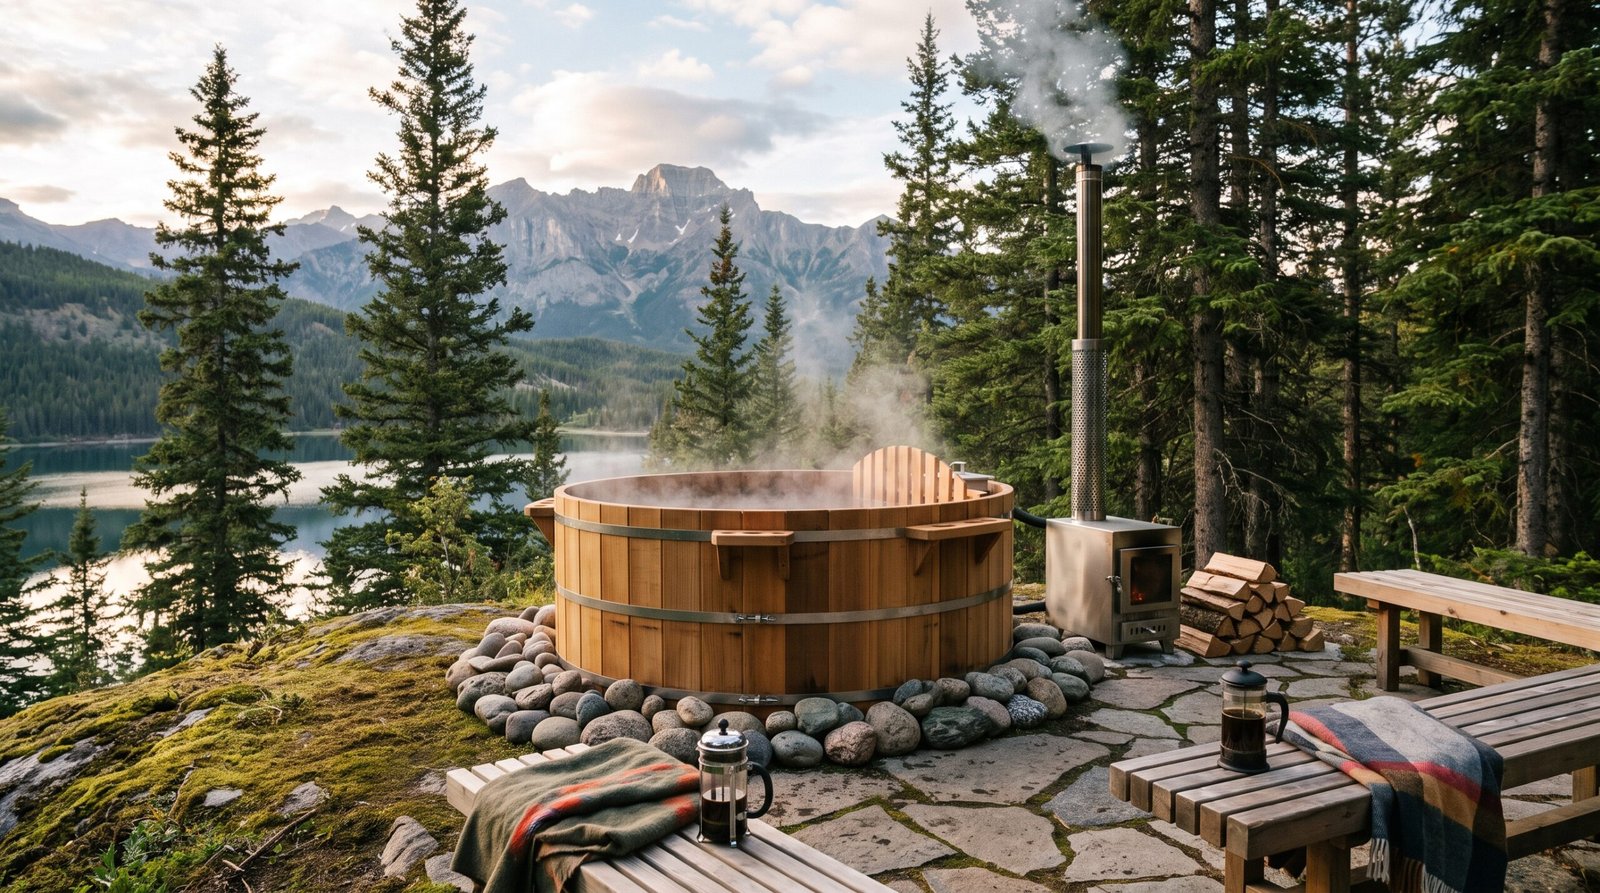
There’s a specific kind of quiet that happens when you’re neck-deep in 104-degree water, watching your own woodsmoke curl up into a cold night sky, with zero utility bills accumulating in the background. That’s the entire pitch for a DIY wood fired hot tub. No propane truck, no electrician, no monthly surprise on your power bill. Just a fire, some water, and physics that have worked since before anyone had a word for “off-grid.”
I’ve built three of these now — one that failed spectacularly (more on that later) and two that have been running for years with almost zero maintenance drama. This guide is everything I wish someone had told me before I torched my first attempt.
Why a DIY Wood Fired Hot Tub Beats Every Other Option
Electric hot tubs are convenient, sure, but they tie you to the grid and to a repair bill that eventually shows up no matter how well you maintain the pump. A wood-fired setup has exactly one moving part in the classic design: heat rising through water. That’s it.
For anyone building a cabin, homestead, or glamping amenities package for guests, a wood-fired tub is the single highest “wow factor per dollar” addition you can make. Guests remember the tub. They post about the tub. Nobody posts a photo of your Wi-Fi router.
It’s also genuinely one of the best off grid hot tub solutions that exists, because it requires no electrical infrastructure at all if you build it right. No inverter load, no generator hours burned on a pump.
The Physics You Actually Need to Understand: Thermosiphon Heating
Here’s where most first-time builders go wrong. They treat the heater like a kettle and expect the whole tub to warm evenly. It won’t — not unless you understand thermosiphoning, which is the entire engine behind how these tubs work.
Thermosiphoning relies on a basic truth: hot water is less dense than cold water, so it rises. Cold water sinks. If you build a closed loop where the firebox sits below the tub, with an inlet pipe pulling cold water from the bottom of the tub and an outlet pipe returning hot water to the top, you get continuous circulation with zero pump required.
The water heats in the firebox coil, becomes lighter, rises through the outlet pipe back into the tub. Meanwhile, cold water from the tub’s floor gets pulled down into the coil to replace it. This cycle repeats on its own, driven purely by density difference, for as long as the fire burns.
Why Pipe Diameter and Height Difference Matter More Than People Think
The thermosiphon effect is weak compared to a mechanical pump — we’re talking inches of water column pressure, not PSI. That means your plumbing has to cooperate instead of fight the physics.
- Use at least 1.5-inch diameter pipe. Anything narrower creates too much friction resistance and the loop stalls.
- Maximize vertical rise. The bigger the height difference between your firebox coil and the tub’s return inlet, the stronger the convective pull. Even 18-24 inches makes a noticeable difference.
- Avoid sharp 90-degree elbows. Use long-sweep bends wherever possible. Every sharp turn is a place the flow can stall.
- Keep the firebox lower than the tub floor. This isn’t optional — it’s the entire mechanism. If your firebox is level with or above the tub, thermosiphoning won’t work at all.
If you want the deeper engineering explanation, the Wikipedia entry on thermosiphon systems is a genuinely solid technical breakdown of the convective loop principle, and it’ll help you troubleshoot if your build heats slower than expected.
Choosing Your Tub Shell: Why Cedar Still Wins
You can build the shell from a repurposed livestock tank, a large plastic stock tote, or a fully custom wood barrel. But if you’re going for something that looks intentional in a backyard retreat rather than “farm equipment,” a cedar hot tub is the way to go.
Western red cedar is naturally rot-resistant, doesn’t need chemical treatment, and has natural oils that resist mold and mildew even sitting in warm water year-round. It also smells incredible when it’s warm and wet, which sounds like a small detail until you’re actually sitting in it.
Stave Construction Basics
Traditional cedar tubs use stave construction — vertical planks compressed together with galvanized steel bands, similar to a wine barrel. The wood swells when wet, which is what creates the watertight seal. This means a brand-new cedar tub will leak for the first 24-48 hours until the staves fully hydrate and expand. Don’t panic; this is completely normal.
Budget roughly 2 inches of stave thickness minimum for structural integrity if you’re building the shell yourself, and use only stainless or hot-dip galvanized hardware — anything else will rust and stain the wood within a season.
The Firebox: Your Heat Source Options
You’ve got two realistic paths here: an external submerged coil firebox, or an internal snorkel-style stove that sits directly inside the tub.
External fireboxes with a coiled copper or stainless loop are more efficient for thermosiphon heating because you control pipe geometry precisely. Snorkel stoves are simpler to install (they just sit in the tub) but heat less evenly and take up soaking space.
For anyone serious about doing this right the first time rather than improvising with scrap steel, a purpose-built kit removes 90% of the guesswork:

- Max Temp 122°F | The G3 Max portable hot water heater offers 20,000 BTU/hr of heating power for instant hot water up to 122°F(50°C), it’s...
- Long-lasting Battery | The G3 Max operates on a 1lb propane tank, ideal for outdoor use. It features a built-in 4000 mAh battery, providing up to...

A quality external firebox will get a 300-gallon tub from cold tap water to soaking temperature (around 100-104°F) in roughly 2 to 4 hours, depending on ambient temperature and how dry your firewood is. Seasoned hardwood — oak, ash, hickory — burns hotter and longer than softwood, which matters more than people expect on cold nights.
Insulation: The Difference Between “Warm” and “Money Pit”
This is the part first-timers skip and regret. Without insulation on the tub walls and floor, you’re dumping heat into the ground and air as fast as your fire produces it. That means burning through firewood constantly just to maintain temperature.
Wrap the exterior of the shell (not the inside — you need the wood exposed to water for the stave seal) with rigid foam board insulation, then finish with a weather-resistant skirt of cedar boards or corrugated metal for looks. A floor of 2-inch rigid foam under the tub base cuts heat loss into the ground dramatically.
Also build a insulated cover — this single addition can cut your reheat time by more than half after the tub sits overnight, and it keeps debris and animals out between soaks.
Water Treatment and Chemistry for an Off Grid Hot Tub
Because you’re not running a filtration pump 24/7 like a traditional spa, water treatment for an off grid hot tub works a little differently. You’re managing a mostly static body of water that gets periodically drained rather than continuously filtered.
Chlorine tablets work but tend to be overkill for a wood tub used a few times a week. Many homesteaders prefer a simple combination: a capful of unscented household bleach diluted properly for spot sanitizing between full drains, plus regular full water changes every 5-7 uses depending on how many people soak.
Test pH with basic pool strips before each use. You’re aiming for 7.2-7.8. Cedar naturally has mild tannins that can shift pH slightly acidic over time, so don’t be surprised if you need occasional soda ash adjustments.
The EPA’s drinking water and recreational water guidance is a useful reference point if you want official numbers on safe bacterial thresholds, even though it’s written for municipal systems rather than backyard tubs specifically.
Tools and Gear That Make This Project Actually Doable in a Weekend
Beyond the firebox itself, a few pieces of gear separate a smooth weekend build from a three-weekend slog. A quality pipe wrench set, hole saw kit for the plumbing penetrations, and a reliable stainless hardware assortment will save you multiple hardware store trips.

- Portable Propane Power: The Hike Crew Portable Propane Tankless Water Heater delivers instant hot water on demand, perfect for camping, hiking...
- Convenient Temperature Control: With the stepless gas/heat control knob, adjust water temperatures to your liking for a relaxing shower under the...
Don’t skimp on the sealant either — food-grade, high-temp silicone rated for continuous water contact is non-negotiable around any pipe penetration through the tub wall. A cheap caulk here means a leak you’ll be chasing for months.
Permits, Placement, and Practical Backyard Considerations
Most municipalities don’t require a permit for a portable wood-fired tub under a certain gallon capacity, but always check local codes before you dig a firebox pit or run any permanent plumbing. Open-flame regulations vary wildly by county, especially in dry or wildfire-prone regions.
Place the tub on level, well-draining ground — gravel pads work great — at least 10 feet from any structure or overhanging tree branch. Position the firebox opening away from prevailing wind direction so you’re not getting smoked out every time you tend the fire.
Your Maintenance Schedule: Keeping the Tub Running for Years
A wood-fired tub rewards routine maintenance and punishes neglect fast. Here’s the schedule that’s kept my tubs running trouble-free.
After Every Soak
- Let the fire burn down completely before leaving it unattended — never walk away from an active firebox.
- Skim any floating debris, leaves, or ash residue from the water surface.
- Close the insulated cover fully to retain residual heat for next time.
Weekly
- Ash removal: Clear the firebox completely of ash and clinker buildup. Accumulated ash restricts airflow and drastically reduces heating efficiency — this is the single most common cause of “my tub takes forever to heat” complaints.
- Test pH and adjust with soda ash or pH decreaser as needed.
- Inspect the coil or firebox pipe connections for any mineral scaling or leaks.
Every 5-7 Uses
- Fully drain and refill the tub. Scrub the interior with a soft brush and diluted vinegar solution to remove biofilm before refilling.
- Check the metal bands on stave construction for tension — cedar shrinks slightly in dry weather and bands may need re-tightening.
Seasonally
- Oil the exterior cedar with a UV-protective outdoor wood oil to prevent silvering and cracking.
- Deep-clean the firebox flue of creosote buildup, especially if you’ve been burning softer, less-seasoned wood.
- Fully inspect all plumbing joints for corrosion before the next heavy-use season begins.
Ultimo aggiornamento 2026-10-28 / Link di affiliazione / Immagini da Amazon Product Advertising API