
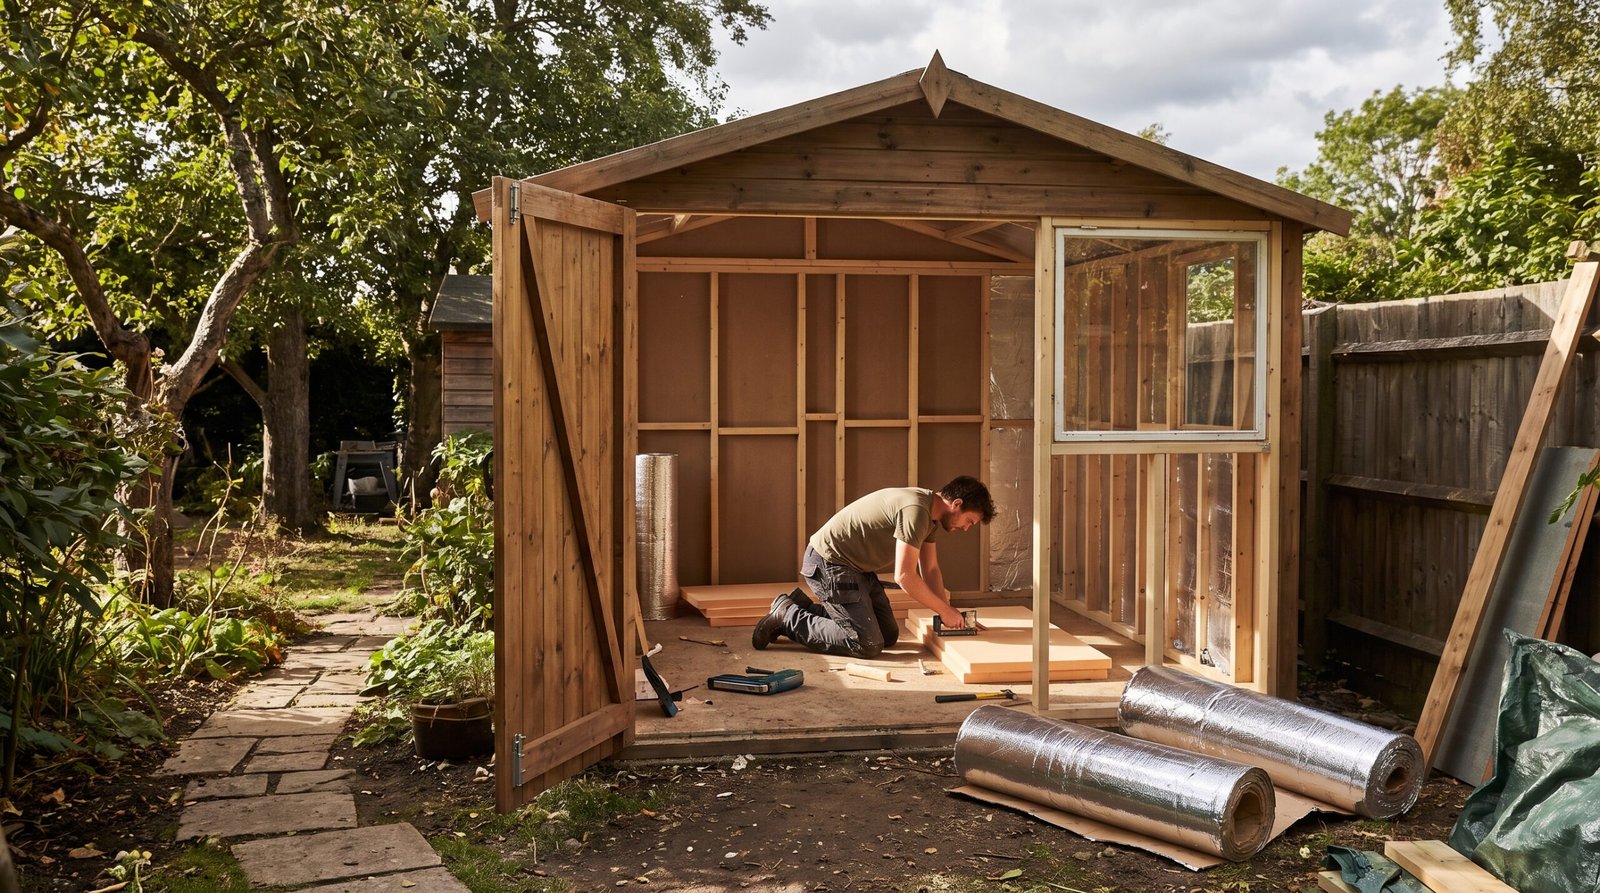
Turning a drafty backyard shed into a four-season office isn’t a weekend fantasy — it’s a completely doable project if you respect the physics of heat loss and don’t cut corners on the vapor barrier. I’ve converted three sheds over the past decade, and every single failure I’ve seen (moldy walls, condensation dripping off windows, a space that’s an oven in July and a freezer in January) traces back to skipping one of the steps below. Let’s fix that.
Why Standard Shed Construction Fails as an Office
Most prefab and stick-built sheds are designed to store lawnmowers, not humans. The walls are usually a single layer of OSB or T1-11 siding nailed to 2×4 studs, with zero insulation and zero air sealing. That’s fine for a rake. It’s brutal for a laptop and a space heater.
When you start heating and cooling an occupied space, you introduce warm, moist indoor air into a cavity that was never built to manage moisture. Without a proper vapor barrier and continuous insulation, that moisture condenses inside the wall cavity, and within two seasons you’ve got rot and mold behind your drywall. This is the single biggest reason DIY shed-to-office conversions fail.
How to Insulate a Backyard Shed: The Building Science Basics
Before you buy a single roll of insulation, you need to understand R-value and where your climate actually lands. R-value measures resistance to heat flow — the higher the number, the better the material stops heat from moving through it. The U.S. Department of Energy’s insulation guidelines break the country into climate zones, and your zone determines the minimum R-value you should be targeting for walls, floor, and ceiling.
For most temperate zones, you’re looking at R-13 to R-21 in the walls, R-30+ in the ceiling (heat rises, so don’t skimp up there), and R-19 to R-25 under the floor. If you’re in a harsher climate — think Minnesota winters or Arizona summers — push those numbers higher and lean on continuous rigid foam over the studs to kill thermal bridging.
Thermal bridging is the sneaky heat-loss culprit most DIYers ignore. Every stud in your wall is a direct path for heat to escape, bypassing the insulation between the studs entirely. A layer of rigid foam board over the whole exterior wall assembly breaks that bridge and can add R-5 to R-8 with just one inch of thickness.
Choosing Your Insulation: Batts, Foam Board, or Spray Foam
This is where your backyard office conversion budget and your climate collide. Here’s the honest breakdown from someone who’s tried all three.
Fiberglass or Mineral Wool Batts
Cheapest option, easiest to install between standard 16″ or 24″ on-center studs. R-13 to R-15 batts fit a 2×4 wall nicely. The catch: batts do nothing to stop air infiltration on their own, so you absolutely need house wrap or taped rigid foam on the exterior to control drafts.
Rigid Foam Board (XPS or Polyiso)
My preferred method for shed walls because it does double duty — insulation value plus a built-in air and moisture barrier when the seams are taped properly. Polyiso boasts higher R-value per inch (around R-6.5) compared to XPS (R-5), but XPS handles ground contact and moisture better, so use it under the floor.
Spray Foam
Closed-cell spray foam is the gold standard if your budget allows it. It seals every crack, acts as its own vapor barrier at 2 inches or more, and delivers around R-6 per inch. Many shed insulation kits now include small DIY spray foam canister kits designed exactly for this scale of project — perfect for sealing rim joists and tricky corners even if you batt-insulate the rest.

- Features: 6 small skylights, 2 shatterproof polycarbonate windows, 2 screened vents, 2 decorative shutters, 2 peg strips, 2 90" x 9" shelves...
- Exterior Dimensions: 15 ft. W x 8 ft. D x 7 ft. 10.8 in. H | Interior Dimensions- 90" W x 174" D x 70-94" H

Installing a Vapor Barrier the Right Way
A vapor barrier shed setup is non-negotiable if you’re conditioning the space year-round. The barrier goes on the warm side of the wall — meaning the interior side in cold climates — and its job is to stop indoor humidity from migrating into the wall cavity where it can condense on cold sheathing.
Use 6-mil poly sheeting stapled to the studs before you hang drywall or paneling, overlapping seams by at least 12 inches and taping every seam with a moisture-rated tape like Tyvek tape. Don’t just staple it loosely — any gap is a highway for moisture vapor.
In hot, humid climates (the Gulf Coast, Florida), the logic flips: your vapor barrier needs to go on the exterior side instead, since the moisture drive is coming from outside in. This is a detail a lot of DIY guides gloss over, and it’s exactly why the Building Science Corporation’s wall assembly research is worth a read before you staple anything down.
Sealing the Floor and Ceiling: The Forgotten Zones
Everybody insulates the walls and forgets that heat escapes just as aggressively through the floor and roof. If your shed sits on a slab or skids close to the ground, cold radiates straight up through an uninsulated subfloor and you’ll feel it in your feet all winter.
Frame out the floor with 2×4 or 2×6 sleepers, fill with rigid foam or batts, then cap with 3/4″ tongue-and-groove plywood subfloor. For the ceiling, if you’ve got roof trusses or rafters exposed, pack in R-30 batts or rigid foam and leave a 1-inch air gap below the roof deck for ventilation — trapped moisture up there rots your roof sheathing fast.
Don’t forget baffles at the eaves if your shed has a vented soffit. Blocking airflow there defeats the whole point of a ventilated roof assembly and traps humid air right where you don’t want it.
Air Sealing, HVAC, and Finishing Touches
Insulation without air sealing is like a winter coat with the zipper broken. Before you close up any wall, run a bead of caulk or canned spray foam around every penetration — outlet boxes, window frames, the seam where wall meets floor plate. This single step often does more for comfort than an extra inch of insulation.
For heating and cooling, a ductless mini-split is the standard choice for backyard office conversions — no ductwork needed, and modern units sip electricity while delivering both heat and A/C from one compact unit mounted on the wall.
Finally, finish the interior with 1/2″ drywall or tongue-and-groove pine paneling over your vapor barrier. If you want extra sound dampening for video calls, a resilient channel behind the drywall knocks down a surprising amount of outside noise.

- SPACIOUS AND SECURE OUTSIDE SHED STORAGE BUILDING WITH FLOOR BASE. The Suncast Tremont 8x10 shed kit offers 547 cu. ft. of walk-in space for...
- DURABLE AND WEATHERPROOF OUTDOOR SHED. This 8 x 10 shed features a hard shell made of steel-reinforced resin panels. Weather-resistant, this...
Tools and Materials Shopping List
- Rigid foam board (XPS or polyiso), enough for walls, floor, and ceiling
- Fiberglass or mineral wool batts (R-13 to R-21 depending on climate)
- Closed-cell spray foam kit for sealing gaps and rim joists
- 6-mil poly sheeting for the vapor barrier
- Moisture-rated seam tape (Tyvek tape or equivalent)
- Staple gun and heavy-duty staples
- Utility knife with extra blades for cutting foam board and batts
- Caulk gun and exterior-grade caulk
- 3/4″ tongue-and-groove plywood for subfloor
- 2×4 or 2×6 lumber for floor sleepers
- Roof/soffit baffles for ventilation channels
- 1/2″ drywall or tongue-and-groove paneling
- Ductless mini-split heating and cooling unit
- Tape measure, level, and a good pair of work gloves
Ultimo aggiornamento 2026-10-28 / Link di affiliazione / Immagini da Amazon Product Advertising API