
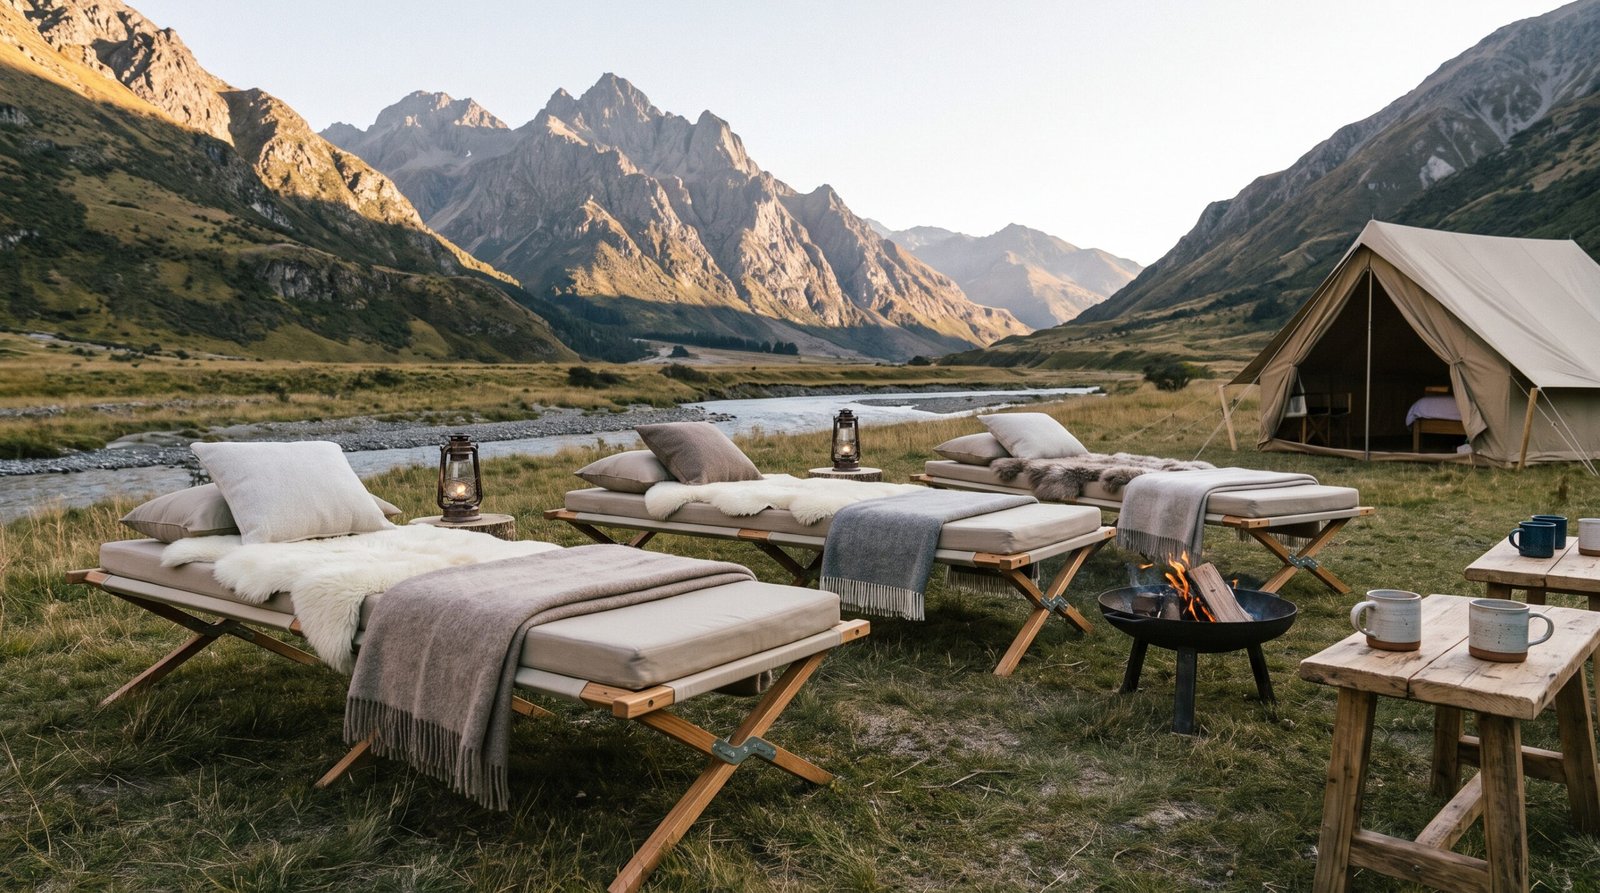
Most people ruin their glamping bed setup before they even buy a sheet. They go straight for the “pretty” stuff—the macrame wall hanging, the fairy lights, the pampas grass in a ceramic vase—and completely skip the boring foundational layer that actually makes a bed feel like a five-star retreat instead of a sleeping bag on a cot. I’ve built out probably a dozen of these tent and cabin bedrooms over the years, and I can tell you the magic is 80% in the base layer and 20% in the styling. Let’s build this thing the right way, from the ground up.
Why Your Glamping Bed Setup Fails Before You Even Add Decor
Here’s the uncomfortable truth: canvas tents and prefab cabins are brutal environments for sleep. Ground moisture creeps up, temperature swings are extreme, and platform beds sitting directly on a plywood subfloor act like a heat sink pulling warmth right out of your body all night.
I learned this the hard way on a fall trip in the Blue Ridge Mountains. Gorgeous canvas tent, beautiful frame bed, and I froze because I had one thin foam pad between me and a wood platform that was basically the same temperature as the outside air. The R-value of your sleep surface matters just as much as your blanket count.
That’s the real starting point of any luxury glamping bed setup — insulation and structure first, aesthetics second. Skip that order and you’ll just have a good-looking place to be uncomfortable.
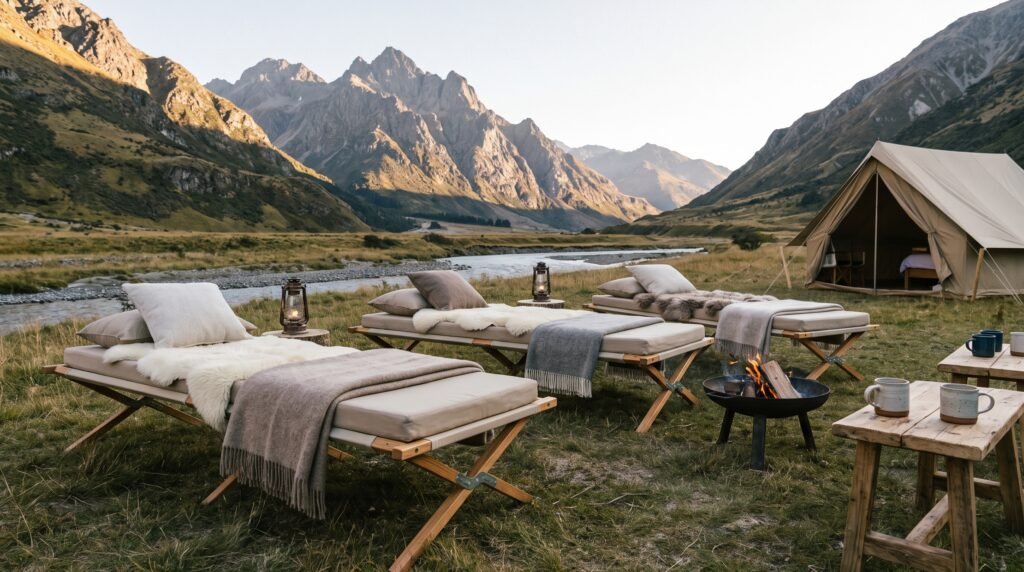
Building the Base: The Frame, Platform, and Subfloor
Start with the bones. A raised platform bed frame beats an air mattress or a floor pallet every single time in a tent or cabin setting, for one big reason: airflow underneath prevents condensation buildup on canvas floors and keeps moisture from wicking up into your mattress.
If you’re building your own frame (which I’d honestly recommend — it’s a weekend project, not a renovation), aim for at least 8 to 10 inches of clearance underneath. This gives you storage space for bins and gear, and it keeps the sleep surface further from cold ground-level air that pools inside a tent overnight.
Use pressure-treated lumber or cedar if there’s any chance of moisture exposure — standard pine will warp and mold faster than you’d think in a humid glamping environment. Cedar also naturally resists insects, which matters a lot when you’re essentially sleeping in the woods.
Quick Frame Checklist
- Minimum 8-10 inches of ground clearance for airflow
- Cedar or pressure-treated lumber for moisture resistance
- Slatted platform top (not solid plywood) to let the mattress breathe
- Corner bracing so the frame doesn’t rack on uneven ground
Glamping Mattress Ideas That Actually Solve the Comfort Problem
This is where most budget setups collapse. People buy a cheap foam topper, throw it on the platform, and wonder why they wake up sore. A real glamping mattress needs to solve two problems simultaneously: pressure comfort and thermal insulation from below.
My go-to combo is a hybrid approach — a high-density foam base layer (at least 3 inches) topped with a medium-plush memory foam or latex layer. The foam base does the insulating work; the top layer does the comfort work. Think of it like layering a sleeping pad system, just scaled up to bed size.
If you want genuinely luxury-hotel comfort without the luxury-hotel price tag, a well-reviewed foam mattress topper designed for RVs or cabins works fantastically well here, since those are already engineered for compact, insulated sleeping platforms.

- SUPERIOR COMFORT: This queen air mattress for camping is designed with advanced coil construction, ensuring a firm support that makes it the...
- PORTABLE CONVENIENCE: This camping bed doubles as a folding cot bed with mattress, making it incredibly practical and easy to transport for all...

Don’t skip a mattress protector either. Canvas tents breathe — that’s good for ventilation, bad for dust and morning dew that can seep in through zippers. A simple waterproof protector under your fitted sheet will save your investment.
Layering for Warmth: How to Make a Tent Cozy Without Overheating
People assume “cozy” just means piling on more blankets. It’s actually about layering different materials that each do a specific job — this is basic thermal regulation science, the same logic behind the layered bedding systems used in extreme climates.
Here’s the order that actually works, bottom to top:
- Fitted sheet — cotton or linen, breathable against skin
- Flat sheet or lightweight quilt — your temperature-regulating middle layer
- Wool or down blanket — the real heat retention layer, wool especially handles humidity better than synthetic fills
- Textured throw or Moroccan blanket — this is your visual layer, but it also traps a thin pocket of warm air
This is genuinely the answer to how to make a tent cozy — it’s not about quantity, it’s about the right materials doing the right jobs. Wool in particular is underrated for glamping because it regulates temperature in both directions, keeping you warmer on cold nights and less sweaty on warmer ones.
For canvas tents in particularly cold climates, check regional insulation guidance — the U.S. Department of Energy’s insulation resources break down R-values in a way that translates surprisingly well to thinking about tent and cabin sleeping platforms.
The Boho Camping Decor Layer: Where Style Actually Lives
Now for the part everyone rushes to first. Once your base and insulation are handled, decor is genuinely easy — and this is where a glamping bed setup goes from “comfortable” to “Pinterest-worthy.”
Boho camping decor works because it embraces texture over polish. Nothing in this aesthetic is supposed to look brand new or perfectly matched. Mix a chunky knit throw with a smooth linen duvet. Pair a rattan side table with a woven macrame runner. The imperfection is the point.
The Non-Negotiable Decor Layers
- Oversized pillows — at least 3-4 in mixed sizes, this instantly reads “luxury” versus a single standard pillow pair
- A patterned throw blanket — Moroccan, Turkish kilim, or ikat prints add color without looking staged
- Warm-toned string lights — 2700K color temperature, draped along the frame, never the cold-white kind
- A low wooden nightstand or crate — function matters as much as looks here
- Natural textures — jute rugs, rattan baskets, dried florals
One trick that separates amateur setups from genuinely photogenic ones: keep your color palette to three tones max. Terracotta, cream, and deep forest green, for example. Boho decor turns chaotic fast if you’re mixing five competing palettes in a 10×10 tent.
Finishing Touches That Complete the Glamping Bed Setup
The last 10% is what people actually remember. Small functional-but-beautiful additions make guests (or you) feel truly taken care of.
A battery-powered lantern on the nightstand solves the “I don’t want to fumble for my phone flashlight at 2am” problem elegantly. A small woven basket at the foot of the bed for extra blankets keeps things tidy without sacrificing style. And a simple bed canopy or draped mosquito net — even purely decorative in bug-free seasons — adds serious visual drama for very little cost.
- SUPERIOR COMFORT: This queen air mattress for camping is designed with advanced coil construction, ensuring a firm support that makes it the...
- PORTABLE CONVENIENCE: This camping bed doubles as a folding cot bed with mattress, making it incredibly practical and easy to transport for all...
If you’re building this for a rental property or glamping business, remember guest comfort complaints are almost always about temperature, not aesthetics. Nail the insulation and mattress layers first, then let yourself have fun with the styling — that order never fails.
Build it once, build it right, and your glamping bed setup will outperform half the “luxury” resorts charging four times what your setup cost to build.


Ultimo aggiornamento 2026-10-28 / Link di affiliazione / Immagini da Amazon Product Advertising API